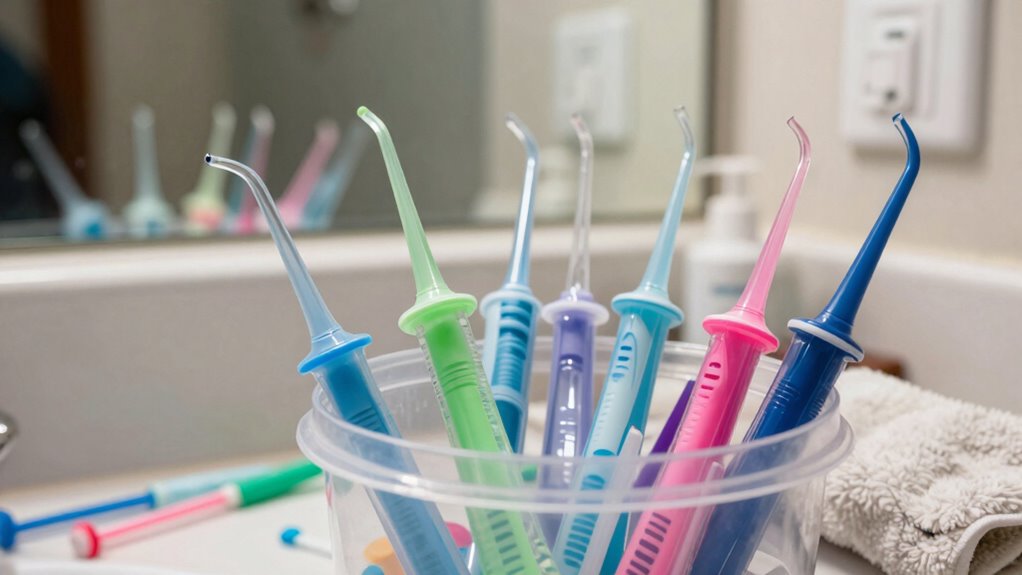
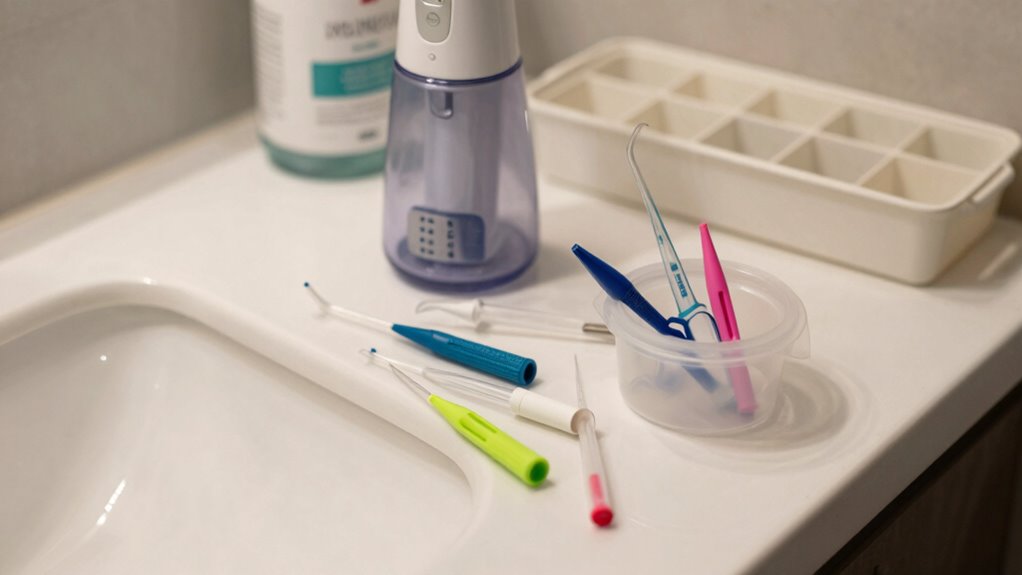
Most families store water flosser tips loosely in drawers or on countertops, exposing them to dust, moisture, and bacteria. Using inappropriate containers or leaving tips unorganized can lead to mold buildup, bacterial growth, and damage. Proper storage—like ventilated containers or labeled stands—keeps tips clean and dry, extending their lifespan. If you want to guarantee your tips stay hygienic and effective, you’ll find helpful tips for better organization and maintenance below.
Key Takeaways
- Many families store tips loosely, exposing them to dust, bacteria, and moisture, which can cause contamination.
- Improper containers, like overcrowded or sealed ones, promote mold growth and bacterial buildup on tips.
- Failing to keep tips upright or dry leads to water pooling, deformation, and faster deterioration.
- Neglecting regular cleaning and replacement increases health risks and reduces tip effectiveness.
- Lack of proper organization makes it difficult to track replacement schedules, decreasing hygiene and device lifespan.

Momcozy Universal Stroller Organizer with Insulated Cup Holder
- Structured Organizer with Multiple Pockets: Internal multi-functional partition design
- Insulated Cup Holders: Includes 2 insulated cup holders
- Large Capacity Storage: Stores essentials like phone, wallet, and more
As an affiliate, we earn on qualifying purchases.
How Do Families Usually Store Water Flosser Tips?
Have you ever wondered if you’re storing your water flosser tips correctly? Many families simply toss them into a drawer or leave them on the countertop, which isn’t ideal for water conservation or hygiene. Usually, tips are stored loosely, exposing them to dust and bacteria. This careless storage can lead to buildup and potential health risks. In family routines, convenience often takes priority, but proper storage helps extend the life of your tips and keeps your bathroom organized. Instead of random placement, consider using a dedicated stand or container that allows air circulation and dries the tips properly. Incorporating storage solutions designed for hygiene can also help prevent mold and bacterial growth, promoting better hygiene and longevity for your water flosser tips. This simple change promotes better hygiene and reduces waste, making your routine more efficient and environmentally friendly. Additionally, following water hygiene practices can ensure your tips stay clean and safe for regular use. Incorporating smart home safety principles, such as designated storage solutions, can also help you develop better habits for maintaining your water flosser accessories.
Common Mistakes When Organizing Water Flosser Tips at Home
Many people make the mistake of organizing water flosser tips in ways that compromise their hygiene and longevity. Using improper storage containers can lead to mold growth or bacterial buildup, which affects both health and device performance. Additionally, neglecting water conservation during storage can cause excess moisture, encouraging germs to thrive. Instead, choose dry, breathable containers that allow tips to air dry completely between uses. Proper storage practices can significantly reduce the risk of bacterial contamination. To further promote hygiene, it’s important to understand proper airflow and how it impacts tip longevity. Avoid overcrowding, which prevents proper airflow, and always guarantee tips are stored upright to prevent water pooling. Proper organization not only prolongs the life of your tips but also supports good hygiene and water conservation. Investing in well-ventilated storage containers helps keep your water flosser tips clean, dry, and ready for safe use. Incorporating hygienic storage practices into your storage routine can also help monitor humidity levels and maintain optimal conditions. Regularly checking for moisture buildup can further prevent bacterial growth and ensure your tips remain safe to use.
How Improper Storage Can Lead to Bacterial Growth
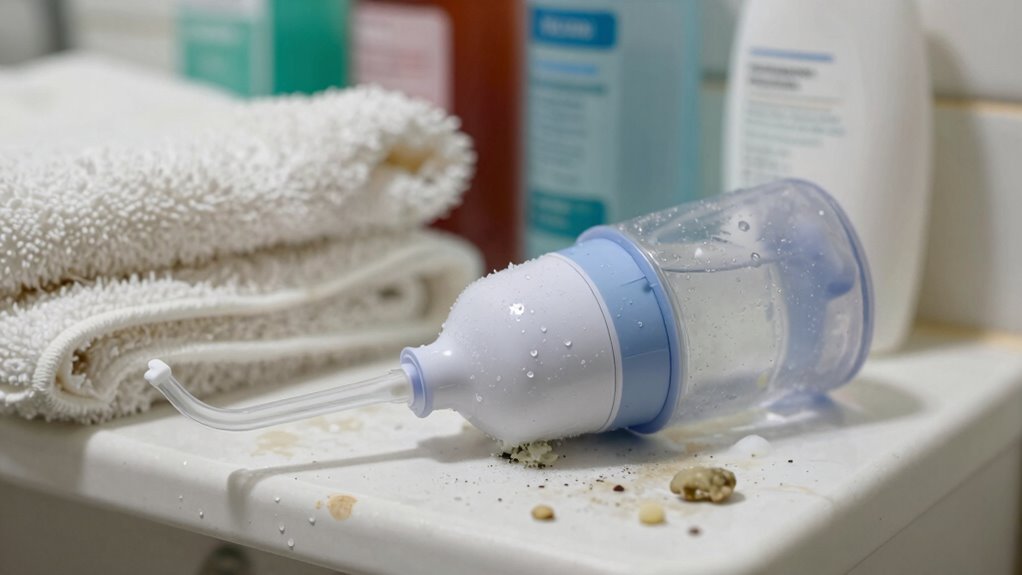
Improper storage of water flosser tips creates the perfect environment for bacteria to thrive. When tips aren’t dried or stored properly, moisture remains, encouraging water contamination and bacterial growth. Poor hygiene practices, like leaving tips in damp conditions or storing them in closed containers, can quickly lead to mold and germs. Using proper storage techniques can significantly reduce the risk of bacterial proliferation and help maintain optimal hygiene.
To prevent this, consider these points:
- Store tips in a dry, ventilated area
- Avoid keeping tips in sealed containers with residual moisture
- Replace tips regularly to reduce bacteria buildup
- Rinse tips thoroughly after each use to maintain hygiene
Neglecting proper storage not only risks bacterial contamination but also compromises your oral health. Good storage habits are essential for keeping your water flosser tips safe and hygienic.
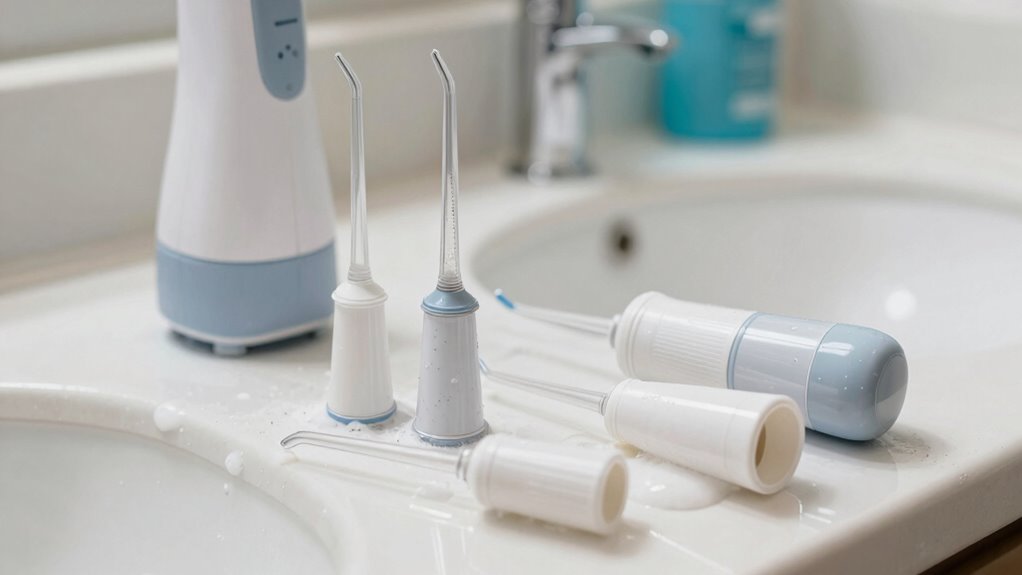
Best Practices for Keeping Your Water Flosser Tips Clean and Accessible

Keeping your water flosser tips clean and accessible starts with establishing simple, effective routines. After each use, rinse the tips thoroughly to remove any debris or residue, preventing bacterial buildup. Store tips in a dry, ventilated container to promote air circulation and reduce moisture, which supports good oral health habits. To conserve water, avoid unnecessary rinsing or overuse of the flosser, aligning with water conservation efforts. Regularly inspect tips for signs of wear or damage, and replace them when needed to maintain oral hygiene. Keeping tips accessible, such as in a dedicated holder, ensures you use them consistently. Additionally, choosing proper storage methods can help keep your tips organized and dry. Proper storage also minimizes the risk of contamination, ensuring healthier use over time. Using effective storage solutions not only extends the lifespan of your tips but also enhances overall cleanliness. These practices help prevent contamination, keep your water flosser functioning at its best, and support healthy habits for a cleaner mouth and a healthier environment. Incorporating proper storage techniques can further enhance the longevity and cleanliness of your tips.
Why Regular Inspection and Replacement of Tips Matters
Regularly inspecting and replacing your water flosser tips helps prevent bacterial buildup that can affect your health. It also keeps your device working at its best and extends the life of each tip. Skipping this step could lead to less effective cleaning and the need for more frequent replacements. Incorporating educational resources about proper maintenance can further enhance your understanding of how to care for your device effectively. Recognizing signs of spiritual growth can also motivate you to stay consistent with your device care routine. Using copper cookware for cleaning or sterilization can be an effective way to naturally reduce bacteria and maintain hygiene. Additionally, selecting high-quality solar-powered solutions for outdoor lighting and security can promote sustainable practices in your home.
Prevents Bacterial Buildup
Because water flossers are used daily, bacteria can quickly build up on the tips if they aren’t inspected and replaced regularly. This buildup can compromise water safety and undermine your hygiene habits. To prevent bacterial growth, you should:
- Regularly inspect tips for mold or discoloration
- Replace tips every three to six months
- Keep tips dry and store them properly
- Clean tips thoroughly after each use
- Consider how cycling skills can help you develop better habits for maintaining your water flosser, such as proper storage and regular inspection. Developing good maintenance routines ensures the longevity and safety of your device. Additionally, understanding electric dirt bikes and their features can inspire you to adopt more efficient and effective practices for keeping your water flosser in top condition. Neglecting these steps can lead to bacteria spreading in your mouth or on your device. Proper storage and timely replacements are essential to maintain good hygiene habits and protect your oral health. Incorporating rustic decor principles, such as keeping tips dry and organized, can make your maintenance routine more efficient and aesthetically pleasing. Remember, clean tips aren’t just about performance—they’re about reducing bacterial buildup and keeping your water flosser safe to use every day.
Ensures Optimal Performance
To guarantee your water flosser works at its best, inspecting and replacing tips regularly is essential. Over time, tips can wear down, affecting water pressure and cleaning efficiency. Damaged or worn tips may not fit properly, compromising tip compatibility and reducing performance. Regular inspections help you identify cracks, mineral buildup, or warping that could hinder water flow. Replacing tips when necessary ensures consistent water pressure, allowing you to effectively remove plaque and debris. Properly fitting tips also prevent leaks and misfires, maintaining peak performance. Don’t ignore signs of wear; keeping your tips in good condition guarantees your water flosser functions smoothly and delivers the best oral hygiene results.
Extends Tip Lifespan
Inspecting and replacing your water flosser tips regularly not only keeps your device functioning ideally but also considerably extends their lifespan. Well-maintained tips prevent buildup of bacteria, ensuring better oral health and reducing the risk of infections. Proper care also promotes water conservation by maintaining efficient spray performance, preventing leaks or clogs that waste water. When you check your tips, look for cracks, discoloration, or wear that signal it’s time for a replacement. Regularly replacing tips saves you money in the long run and minimizes environmental impact. Keep your tips clean and stored correctly to prolong their usability. Remember, a small investment in maintenance supports healthier habits, conserves water, and keeps your oral health at its best.
Choosing the Right Storage Solution for Water Flosser Tips
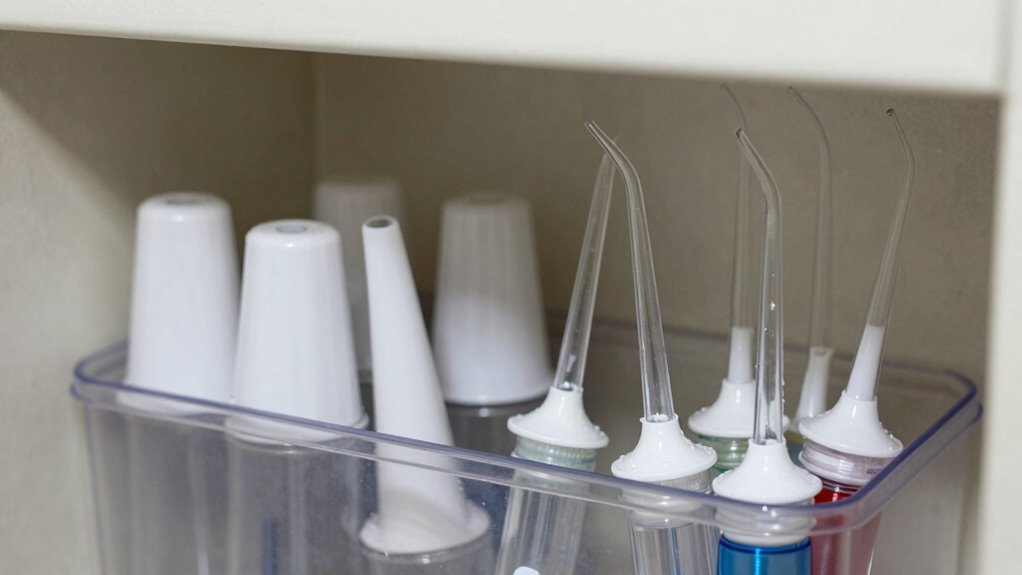
Choosing the right storage solution for your water flosser tips is essential to keep them clean, dry, and ready for use. Proper storage guarantees water safety and prevents bacterial growth. Use well-ventilated storage containers that allow airflow and avoid damp environments. Consider transparent containers so you can easily see when tips need cleaning or replacing. A dedicated, clean drawer or labeled bin helps keep tips organized and protected from dust and contamination. Here’s a quick guide:
| Storage Option | Pros | Best Use |
|---|---|---|
| Ventilated Container | Promotes airflow, dries tips | High humidity areas |
| Sealed Box | Keeps tips dust-free | For travel or storage |
| Clear Plastic Bin | Easy visibility, organizes | Regular home use |
Choose wisely to maintain water safety and extend tip lifespan.
Simple Ways to Organize Your Water Flosser Tips Effectively
Organizing your water flosser tips doesn’t have to be complicated; simple solutions can make a big difference. Creative storage options help keep your tips tidy and accessible, preventing clutter. To improve tip organization, try using small containers or drawer dividers specifically for your tips. You can also repurpose everyday items like a small caddy or a decorative jar. Label each section clearly so you know exactly where everything is. Rotating tips or keeping only the most-used ones in your bathroom makes daily routines smoother. Here are some quick ideas for effective organization:
- Use a small, labeled plastic bin
- Repurpose a pencil holder for tips
- Attach a magnetic strip to your wall
- Store tips in a compact, clear container
Simple, creative storage keeps your tips clean and easy to find.
How Proper Storage Prevents Damage and Wear on Tips
Storing your tips properly keeps them dry and prevents bacteria buildup, extending their lifespan. Make certain to store them upright so they dry completely and stay organized. Proper storage habits can save you money and ensure your tips stay effective.
Keep Tips Dry
Have you ever wondered why your water flosser tips wear out or break more quickly? Keeping tips dry is essential for their longevity. Moisture promotes mold, bacteria growth, and material degradation, leading to faster wear. To prevent this, consider proper storage methods. When traveling, use designated travel storage to keep tips dry and protected. After each use, make sure tips are thoroughly dried before storing. Proper storage also supports tip customization, so you can easily select and maintain the right tips without damage. Avoid leaving tips in humid environments or inside the water flosser, which can cause unnecessary wear. By maintaining dry tips, you extend their lifespan and guarantee peak performance, saving you money and hassle in the long run.
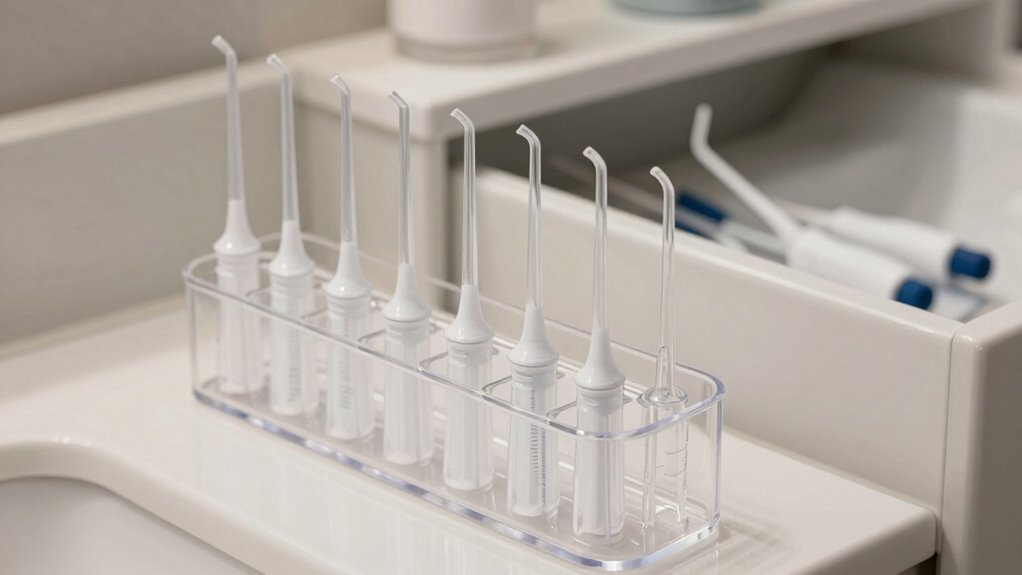
Store Upright Properly
Proper storage isn’t just about keeping tips dry—it also involves how you position them. Storing tips upright prevents deformation, bacterial growth, and wear. Instead of tossing them into a drawer, consider using decorative storage options that keep tips organized and accessible. Travel cases are also a smart choice for on-the-go, protecting tips from damage and contamination. Here’s a quick visual:
| Storage Type | Benefits |
|---|---|
| Decorative Storage | Looks good on your countertop, easy to access |
| Travel Cases | Portable, protects tips during travel |
| Upright Position | Prevents warping and helps tips dry thoroughly |
Storing tips upright in designated containers or cases guarantees they stay in top shape longer.
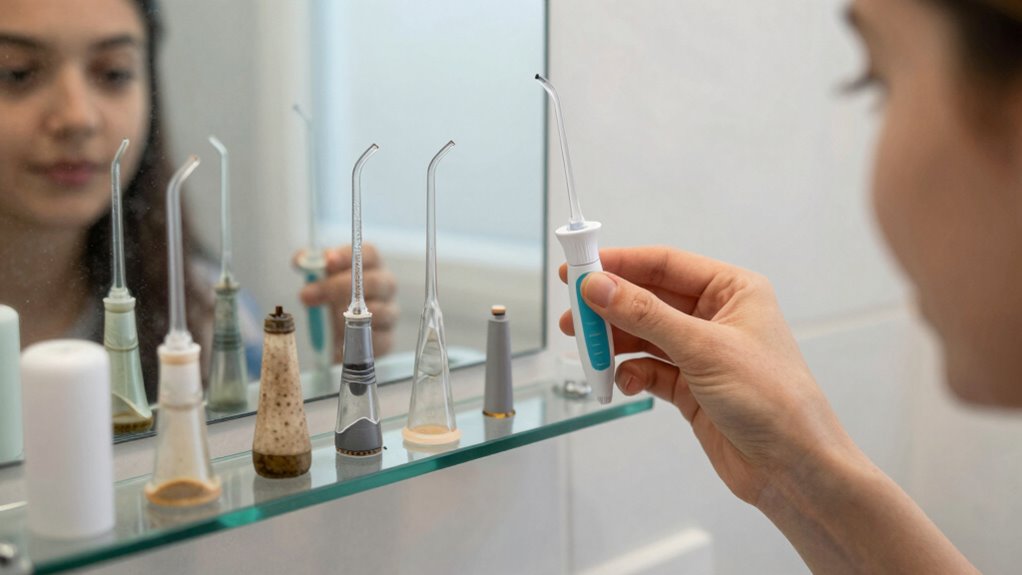
Signs of Mold or Bacteria on Water Flosser Tips and What to Do
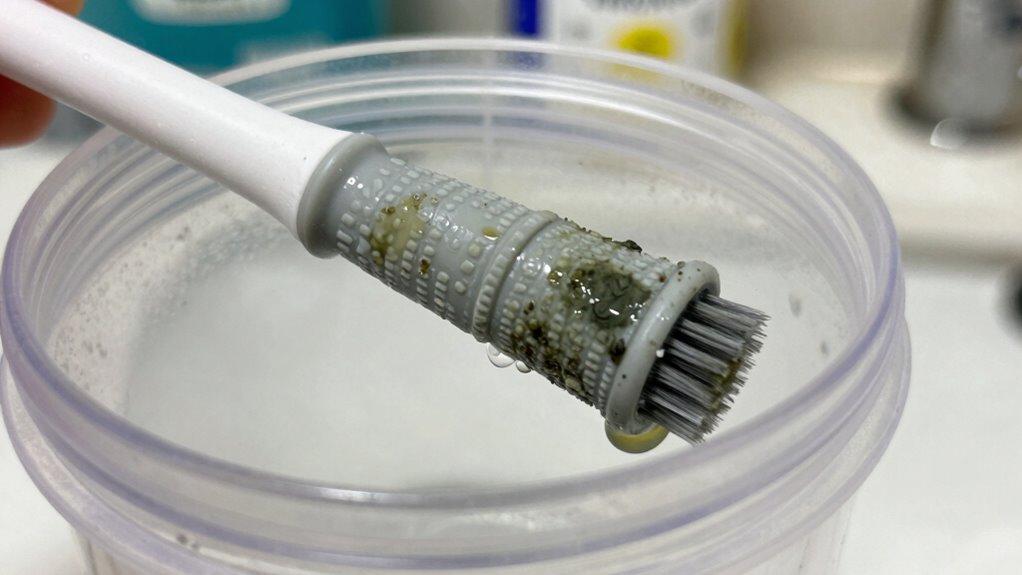
How can you tell if your water flosser tips are harboring mold or bacteria? Look for discoloration, especially green, black, or white spots. A musty smell or slimy texture indicates bacterial growth. If tips feel sticky or look fuzzy, it’s time to replace or disinfect. Mold often develops in damp, enclosed storage containers or after extended periods without cleaning. Travel tips may be less prone if you dry tips thoroughly and store them in ventilated containers. Regularly inspecting your tips helps prevent health issues. Always rinse tips after use, dry completely, and avoid leaving them in humid environments. Proper storage containers and routine checks keep your water flosser hygienic and safe, reducing bacterial buildup and extending the life of your tips.
FAQs: How to Maintain Your Water Flosser Tips for Optimal Hygiene
To keep your water flosser tips hygienic, you should clean them regularly using proper techniques like rinsing with hot water and disinfecting with vinegar or alcohol. It’s also important to replace your tips on a recommended schedule, usually every three to six months. Staying consistent with these habits guarantees your device stays clean and safe to use.
Proper Tip Cleaning Techniques
Keeping your water flosser tips clean is essential for maintaining oral health and preventing bacteria buildup. Proper cleaning not only guarantees water safety but also extends tip durability. To keep tips hygienic, rinse them thoroughly after each use with warm water, removing any debris. Deep clean weekly by soaking tips in a solution of equal parts water and hydrogen peroxide for 10 minutes. Regularly inspect tips for cracks or wear, replacing them when necessary to avoid harboring bacteria. Store tips in a dry, ventilated area to prevent mold growth. Remember, maintaining tip hygiene helps prevent cross-contamination and supports the longevity of your device.
- Rinse thoroughly after each use
- Soak weekly in hydrogen peroxide solution
- Inspect for cracks or wear
- Store in a dry, ventilated space
Regular Tip Replacement Schedule
Regularly replacing your water flosser tips is key to maintaining ideal oral hygiene and preventing bacteria buildup. A consistent replacement schedule guarantees water safety and reduces the risk of bacteria lurking in your tips. Experts recommend swapping out tips every three to six months, depending on usage. Using the right storage materials is essential; store tips in a clean, dry container away from moisture to prevent mold growth. Avoid keeping tips in closed, damp spaces, which can harbor bacteria. Proper storage also makes it easier to track when to replace your tips. By sticking to a regular replacement timetable and choosing appropriate storage materials, you’ll maintain optimal hygiene and extend the lifespan of your water flosser tips.
Frequently Asked Questions
Can Storing Tips in a Sealed Container Cause Mold Growth?
Storing tips in a sealed container can indeed cause mold growth if moisture gets trapped inside. This affects mold prevention and storage hygiene, making your tips a breeding ground for bacteria. To avoid this, guarantee tips are completely dry before storing, and consider opening the container regularly for air circulation. Proper drying and ventilation are key to keeping your water flosser tips clean and mold-free.
How Often Should Water Flosser Tips Be Replaced for Hygiene?
Replacing your water flosser tips is like changing your toothbrush regularly—it’s essential for good hygiene practices. You should swap out flosser tips every three to six months to prevent bacteria buildup and maintain peak performance. Regular flosser tip maintenance keeps your device clean and safe, ensuring you’re not reintroducing germs into your mouth. Stay vigilant and replace tips promptly to keep your oral health in top shape.
Are There Specific Materials Best for Storing Water Flosser Tips?
You should choose tips material that’s durable, BPA-free plastic or silicone, to prevent damage and guarantee safety. When selecting storage containers, opt for ones that are airtight and easy to clean, like plastic or glass, to keep tips dry and hygienic. Avoid porous materials that can harbor bacteria. Proper storage containers help maintain the tips’ cleanliness, making them last longer and ensuring you get the best oral health benefits.
What Are the Risks of Leaving Water in the Tips Overnight?
Leaving water in your water flosser tips overnight can lead to water contamination and bacterial growth. When moisture stays inside the tips, it creates a perfect environment for bacteria to thrive, which increases the risk of oral infections. To prevent this, you should empty and dry the tips after each use. Regular cleaning and proper storage help keep your water flosser hygienic and safe for daily use.
Should Tips Be Sterilized Before Storage?
Yes, you should sterilize water flosser tips before storage to prevent bacteria buildup. Use appropriate sterilization methods like boiling or disinfectant wipes, but make sure they’re compatible with the tip’s material to avoid damage. Check your manufacturer’s instructions for material compatibility. Regular sterilization keeps your tips clean and safe, reducing the risk of infections and ensuring maximum oral hygiene.
Conclusion
If you keep ignoring proper storage, your water flosser tips could turn into bacterial breeding grounds faster than you can blink! Don’t let mold, germs, or damage sneak in and ruin your oral hygiene routine. With simple organization and regular checks, you’ll prevent disaster and keep your tips pristine—like a dental spa for your mouth. Take action now, or risk turning your fresh smile into a bacterial battleground. The choice is yours—fight for cleanliness today!