

To create healthier, tooth-friendly treats, focus on smarter baking techniques like using room temperature ingredients and incorporating natural sweeteners such as xylitol, which reduces cavity-causing bacteria. Master cupcake preparation by filling liners appropriately and timing baking perfectly. Cool and store your treats wisely to keep freshness, then decorate with piping tricks and melting wafers for a polished look. Making baking fun for kids and adding nutritious ingredients helps satisfy cravings while supporting dental health—keep going to learn more tips!
Key Takeaways
- Use natural sweeteners like xylitol to create tasty treats that promote dental health and reduce cavity-causing bacteria.
- Prepare ingredients at room temperature and mix carefully to ensure light, fluffy baked goods that are easier on teeth.
- Incorporate whole grains, fruits, and vegetables to make healthier confections that satisfy sweet cravings without excess sugar.
- Properly cool, store, and decorate cupcakes with gentle techniques to maintain freshness and achieve professional-looking treats.
- Make baking fun for kids with creative shapes, colorful decorations, and educational storytelling to foster healthy eating habits.
Embracing Healthier Baking With Xylitol
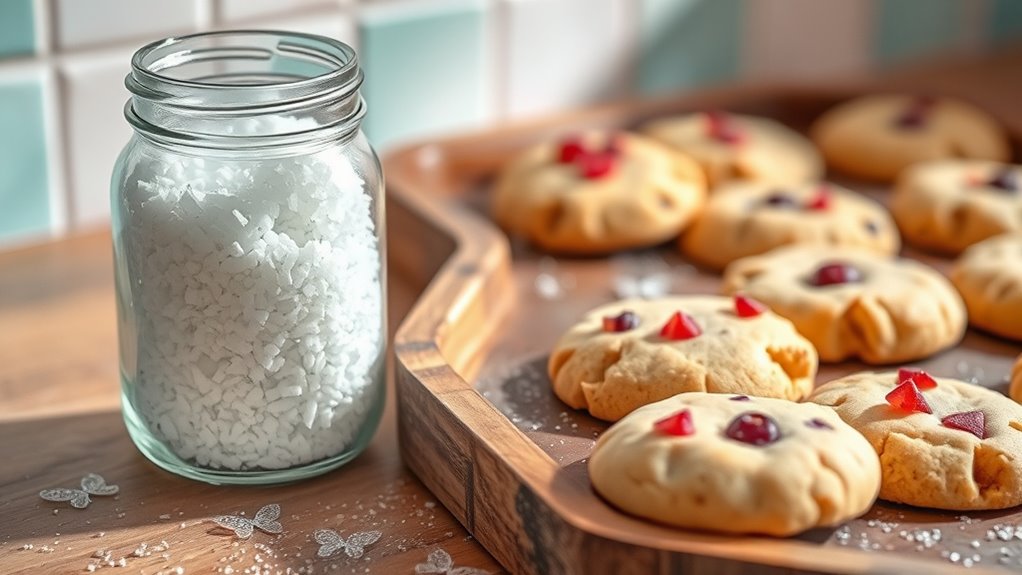
If you’re looking to enjoy baked treats without compromising dental health, embracing healthier baking with xylitol is a smart choice. The Tooth Fairy would make sure you understand that xylitol, a natural sweetener from birch trees and other plants, offers cariostatic properties that help prevent tooth decay.
Make sure to replace sugar with xylitol in your recipes, as it reduces acid formation in your mouth, promoting a healthier dental environment. Plus, xylitol has a low glycemic index, making it suitable if you’re watching your blood sugar levels. Incorporating dental health benefits into your baking routine can further enhance your overall oral wellness.
Keep in mind, baking with xylitol requires some recipe adjustments, like reducing liquids or tweaking sweetness. Regularly consuming xylitol can also decrease cavity-causing bacteria, further supporting your dental health. Additionally, choosing vetted products ensures you use safe and effective xylitol options in your baking. Using xylitol as a sweetener can also contribute to oral cavity protection, making your treats both delicious and beneficial for your teeth.
Selecting and Preparing Perfect Cupcake Batter
Using room temperature ingredients helps your batter mix evenly and results in lighter cupcakes. Be sure to read the entire recipe first to catch any special steps or unique ingredients. Incorporating consistent application techniques ensures your cupcakes bake uniformly and achieve a professional finish. Mix wet and dry ingredients just until combined, using a gentle circular motion, to keep your cupcakes fluffy and tender. Additionally, employing the correct material selection for your cupcake liners can prevent sticking and improve presentation. Incorporating subtle sound vibrations can also enhance your baking process by creating a calming environment. For instance, a smooth riding electric bike can make your baking trips more enjoyable and efficient. Moreover, maintaining a clean and air-purified kitchen environment can help eliminate airborne contaminants, ensuring your ingredients stay fresh and your workspace remains hygienic.
Ingredient Temperature Matters
Achieving the perfect cupcake batter starts with paying attention to ingredient temperatures. Use room temperature eggs, butter, and milk for better emulsification, which results in a smoother, more cohesive batter.
Crack eggs into a separate bowl first to check for freshness and avoid shell fragments slipping in.
Properly softened butter or margarine blends more evenly, preventing lumps and ensuring consistency.
When combining dry and wet ingredients, mix just until they’re incorporated—overmixing can lead to a dense or tough cake.
Always read the recipe thoroughly beforehand to spot any specific temperature or preparation steps.
Keeping ingredients at the right temperature helps your batter come together effortlessly, giving you a light, fluffy cupcake every time. Consistent use of ingredients at proper temperatures can also enhance the effectiveness of skincare ingredients like glycolic acid, leading to better skin results.
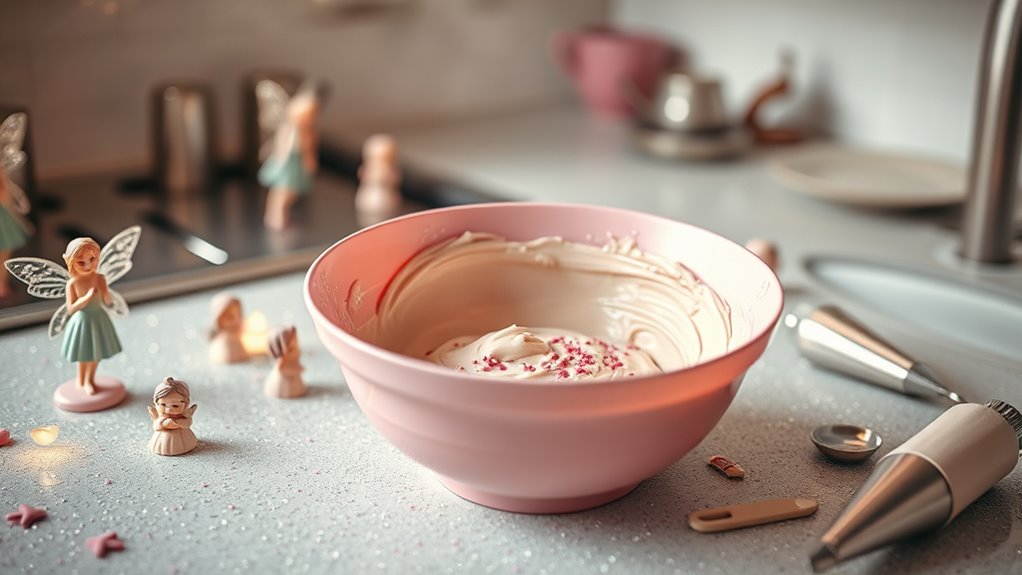
Mixing Techniques for Fluff
To create light, fluffy cupcakes, selecting the right mixing technique is essential. First, read the entire recipe to spot any special instructions or unique ingredients. Use room temperature eggs and butter to guarantee even mixing and a lighter batter.
When combining wet and dry ingredients, do so gently with a hand mixer or spatula, mixing just until combined—overmixing can deflate the batter’s fluffiness. If you want to add extras like chocolate chips, fold them in carefully at the end to keep the batter airy. Incorporating proper mixing techniques can help preserve the batter’s delicate structure and ensure a consistent rise. Properly measured ingredients also play a crucial role in achieving the perfect texture and fluffiness.
For an extra boost of texture, incorporating natural materials like linen or reclaimed wood in your kitchen tools can help maintain the integrity of delicate batters. Additionally, employing automated kitchen appliances can ensure consistent mixing and improve overall results. Fill each cupcake liner two-thirds full using a scoop or spoon for consistent rise and fluffiness. Following these steps helps you achieve perfectly light, tender cupcakes every time.
Mastering the Art of Cupcake Filling and Baking Timing
To get perfect cupcakes, you need to master filling techniques and baking timing. Using the right amount of batter and checking for doneness with a toothpick or bounce-back test guarantees they turn out just right. Paying close attention to these details helps you avoid under- or overbaking your sweet treats. Ensuring consistent oven temperatures and proper placement can also influence baking results, especially when aiming for uniform baking performance. Knowing the ideal baking temperature for your oven can help prevent uneven baking and improve overall cupcake quality. Incorporating essential oils for baking can even make your baking sessions more enjoyable by adding natural aroma and flavor enhancements when weather permits. Additionally, understanding oven calibration can help maintain accurate temperatures, leading to more consistent results.
Proper Filling Techniques
Mastering proper filling techniques is vital for baking perfect cupcakes. To guarantee consistent size and even baking, fill each cupcake liner two-thirds full. Use an ice cream scoop, cookie scoop, or spoon for precise portioning. Using butter-based batter can improve the flavor and texture of your cupcakes, making them richer and more tender.
Avoid overfilling, which can cause spillage, or underfilling, which leads to dry or flat cupcakes. For accuracy, pour batter into each liner with a spouted bowl or disposable pastry bag. This minimizes mess and helps you achieve uniform fill levels. Take care to fill each cup carefully to prevent air pockets that can result in uneven baking or domed tops. Proper filling, combined with correct baking times, guarantees moist, evenly baked cupcakes with a professional look. Focus on consistency and precision to master this essential step.
Timing and Doneness Tests
Timing and doneness are critical for perfect cupcakes; understanding how to test for doneness guarantees you avoid underbaking or overbaking. Insert a toothpick into the center of a cupcake; if it comes out clean, they’re done. Gently press the top—if it springs back, the cupcakes have reached the right texture.
Bake at 350°F (177°C) for about 18-20 minutes, but check early to prevent overbaking. Use visual cues like golden-brown edges and firm, slightly springy tops to judge doneness. Avoid opening the oven door too often during the last few minutes, as this can disrupt even baking.
Mastering these tests ensures your cupcakes are perfectly baked, with moist centers and beautifully risen tops every time.
Cooling and Storing Your Sweet Creations
Cooling and storing your sweet creations properly guarantees they stay fresh and delicious. First, let cupcakes cool in the pan for about 10 minutes, then transfer them to a wire rack to prevent sogginess. To speed up cooling, place them in the fridge or freezer for 10-20 minutes, but don’t overcool, as it can affect texture. When storing, keep baked cupcakes in airtight containers or plastic bags to maintain moisture. For longer storage, freeze them for up to a week. Before decorating, thaw frozen cupcakes at room temperature for 20-30 minutes to preserve their texture. Proper cooling and storage give you flexibility and ensure your treats taste just as fresh as when baked. Incorporating advanced AI technology can also help optimize storage conditions, ensuring your treats remain perfect for longer and prevent spoilage. Additionally, choosing the right storage containers can further improve freshness and prevent contamination. Using proper temperature control can also extend shelf life and maintain quality.
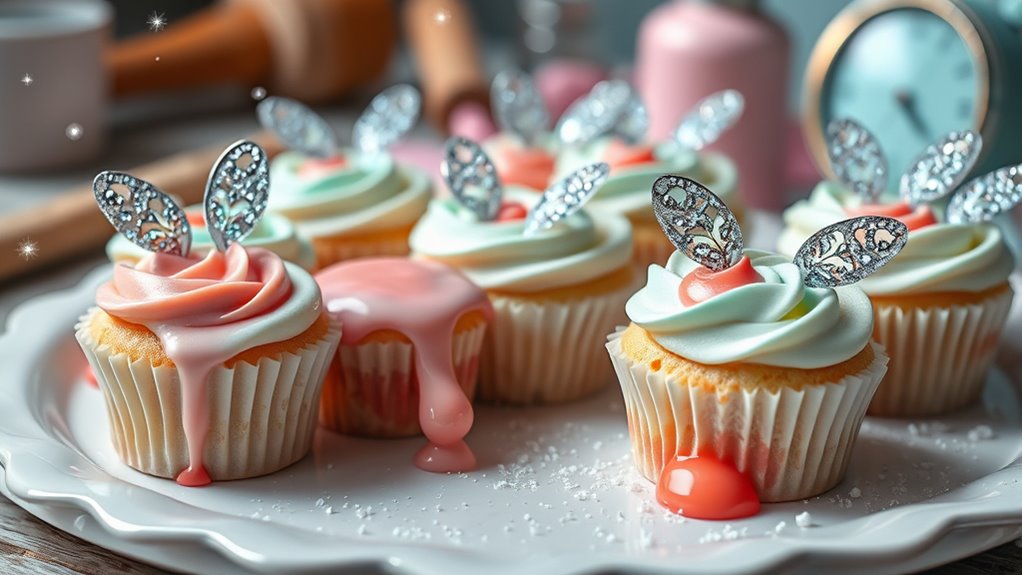
Decorating Delights: Tips for Piping and Finishing Touches

Decorating your cupcakes and cakes with piping requires a steady hand and attention to detail. Use disposable pastry bags fitted with different tips, like round or open star tips, to create a variety of decorative effects. Cultural celebrations often feature vibrant and intricate cake designs that can inspire your piping techniques. Incorporating seasonal themes can also add a festive touch to your creations.
Cut the bag about an inch from the tip for clean, signature swirls or rosettes. Maintain consistent pressure while piping to keep lines even and smooth, avoiding bumps or gaps. Proper technique is essential for achieving professional-looking results and making your decorations stand out.
Let buttercream frosting set for a minute or two to form a crust, which helps in creating textured finishes or when patting down dollops. Additionally, choosing the right frosting consistency ensures your decorations hold their shape and look professional.
For a polished look, dip your fingers in water and gently pat down uneven or textured tips. Mastering these tips ensures your decorations look professional and beautifully finished, elevating your sweet treats effortlessly.
Creative Uses of Melting Wafers for Decor and Coating
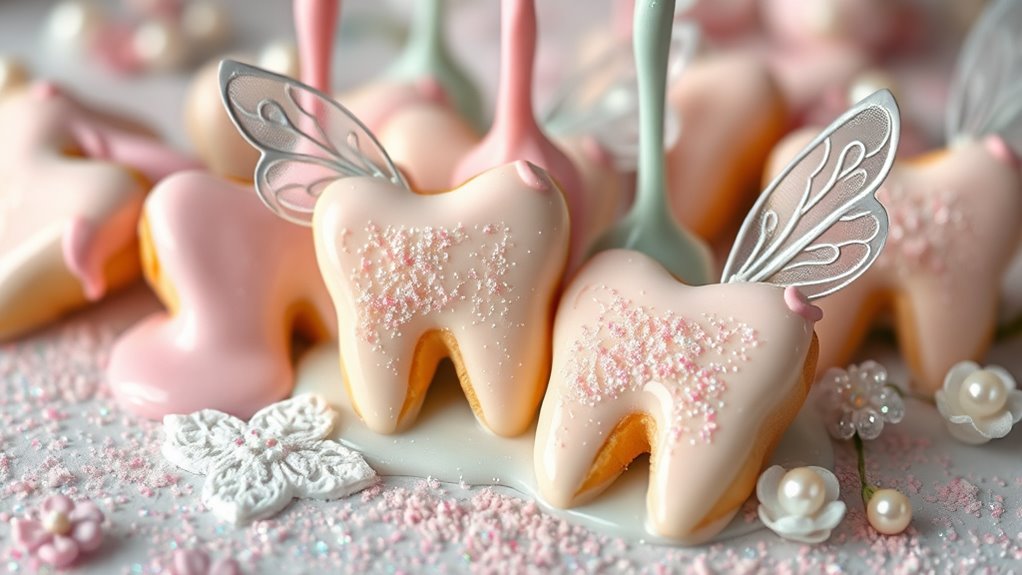
Melting wafers are a fantastic tool for adding vibrant color and smooth finishes to your baked creations. You can melt them quickly in the microwave until smooth and creamy, then use them to decorate or coat your treats. Their variety of colors and flavors, like peanut butter or salted caramel, offers endless possibilities. Unlike traditional chocolate, they don’t need tempering, making the process easier and more straightforward. You can drizzle melted wafers over cupcakes, cookies, or fruit for a glossy, colorful touch. Or, pour the melted mixture into molds to create fun shapes or dip items for a polished look. Understanding ingredient differences can help you choose the best options for your desserts. Incorporating organized workspace techniques can streamline your decorating process and make it even more enjoyable. For example, using proper melting techniques ensures a smooth consistency without clumping. Additionally, knowing candy coating properties can help you achieve more professional results. Being aware of food safety practices when working with melting wafers is essential to prevent contamination and spoilage. Here are some creative ideas:
- Drizzle over decorated desserts for added flair
- Coat caramel apple nachos for vibrant, glossy coverage
- Use as a base for homemade lollipops or shaped treats
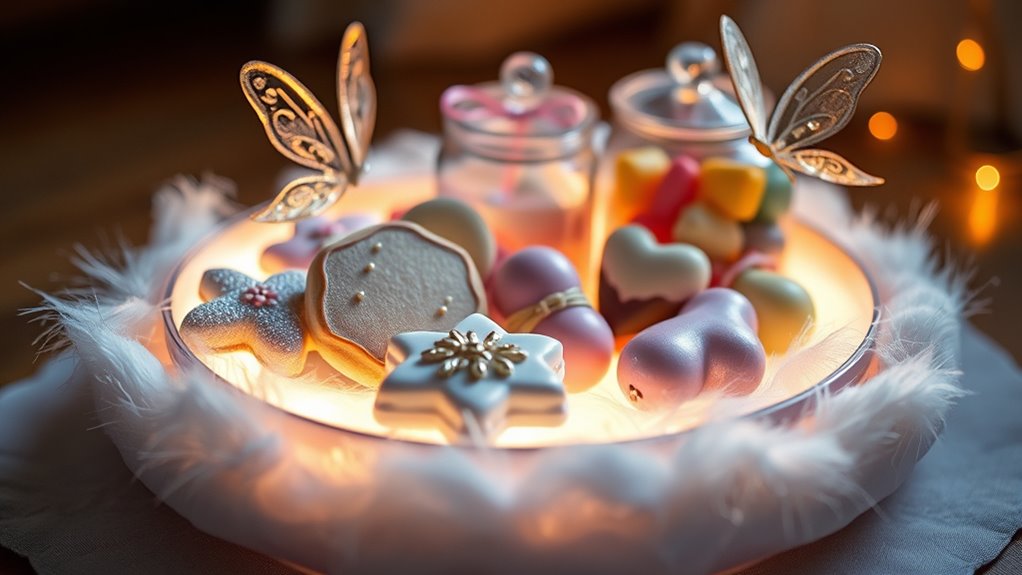
Making Baking Fun for Little Hands and Big Imagination

Turning baking into a fun and engaging activity for little hands starts with choosing simple recipes that encourage participation. Use fun-shaped cookie cutters and colorful sprinkles to spark their creativity and make baking exciting.
Select age-appropriate utensils and supervise tasks like stirring or pouring to keep everything safe and enjoyable. Set up themed decorating stations with edible glitter, candies, and frosting to inspire their imagination and storytelling.
Incorporate educational moments by explaining how ingredients work or sharing fairy-themed stories during the process. Keep recipes foolproof so kids can actively help, boosting their confidence and fostering a love for baking.
Incorporating Nutritional Wisdom Into Your Confections

Incorporating nutritional wisdom into your confections means choosing ingredients that support both flavor and dental health. You can make treats healthier by using natural sweeteners like xylitol, which helps reduce the risk of tooth decay, or replacing refined sugars with honey, maple syrup, or stevia to lower glycemic impact.
Additionally, incorporating nutrient-rich ingredients like whole wheat flour, fruit purees, or vegetables such as zucchini boosts nutritional value without sacrificing taste or texture. These choices create satisfying, tooth-friendly desserts.
To deepen your approach, consider:
- Using xylitol as a sugar substitute for its cariostatic benefits
- Adding whole grains and fruits to enrich fiber and vitamins
- Limiting added sugars by emphasizing naturally sweet ingredients
This strategy promotes better oral health while satisfying sweet cravings.
Frequently Asked Questions
What Is the Tooth Fairy’s Favorite Snack?
You’re wondering about the Tooth Fairy’s favorite snack. She loves naturally sweet treats made with xylitol, which is gentle on teeth and helps prevent cavities.
She prefers baked goods like fairy cakes and cupcakes that use healthier sweeteners, avoiding sticky or hard candies that can harm teeth.
Her ideal snack is easy to enjoy, tooth-friendly, and combines sweetness with dental health benefits, making her visits even more magical.
How to Use Sweet Tooth Fairy Meltables?
Imagine your kitchen as a magical workshop where meltables become art. To use Sweet Tooth Fairy Meltables, microwave them for about a minute, stirring until smooth.
You can drizzle, mold, or coat baked goods, creating glossy, professional-looking treats. Refrigerate for quick setting or let them cool naturally.
With a little creativity, these meltables transform simple desserts into enchanting confections, just like a fairy’s touch turns ordinary into extraordinary.
How to Answer Questions About the Tooth Fairy?
When kids ask about the Tooth Fairy, you want to keep their curiosity alive while maintaining a sense of magic. You can tell them she’s a kind, gentle fairy who visits when they lose a tooth to leave a surprise.
Encourage their imagination and focus on the fun of losing teeth. Gently guide conversations toward good dental habits, making the experience both magical and educational.
What Are the Ingredients in the Sweet Tooth Fairy?
You’re asking about the ingredients in the Sweet Tooth Fairy treats. You’ll find high-quality flour, organic eggs, and real butter, combined with natural flavorings like vanilla, cocoa, or spices.
Instead of refined sugar, it uses natural sweeteners like xylitol, and often includes wholesome ingredients like honey, fresh fruit, and vegetable purees.
This careful selection makes the treats delicious, nutritious, and kinder to teeth, so you can enjoy a sweet treat without guilt.
Conclusion
Now that you’ve learned how to bake healthier treats, how to decorate beautifully, and how to involve everyone in the fun, it’s time to enjoy your creations. Embrace the joy of baking, the art of decorating, and the magic of sharing. Remember, every cupcake, every treat, every moment is an opportunity to delight, to inspire, and to create memories. Bake with love, decorate with passion, and share your sweet journey with those you cherish.